 These stamps are from Heartfelt Creations.
Saturday, September 18, 2010


 watermark stamp pad and then I applied Stamp and Bond then added a light blue glitter. I then added small snowflake accents that were punched with a tonic punch and added a light blue rhinestone accent to the center of the snowflakes. The sentiment is stamped with the

 Up close detail of embossed sentiment on front of card.

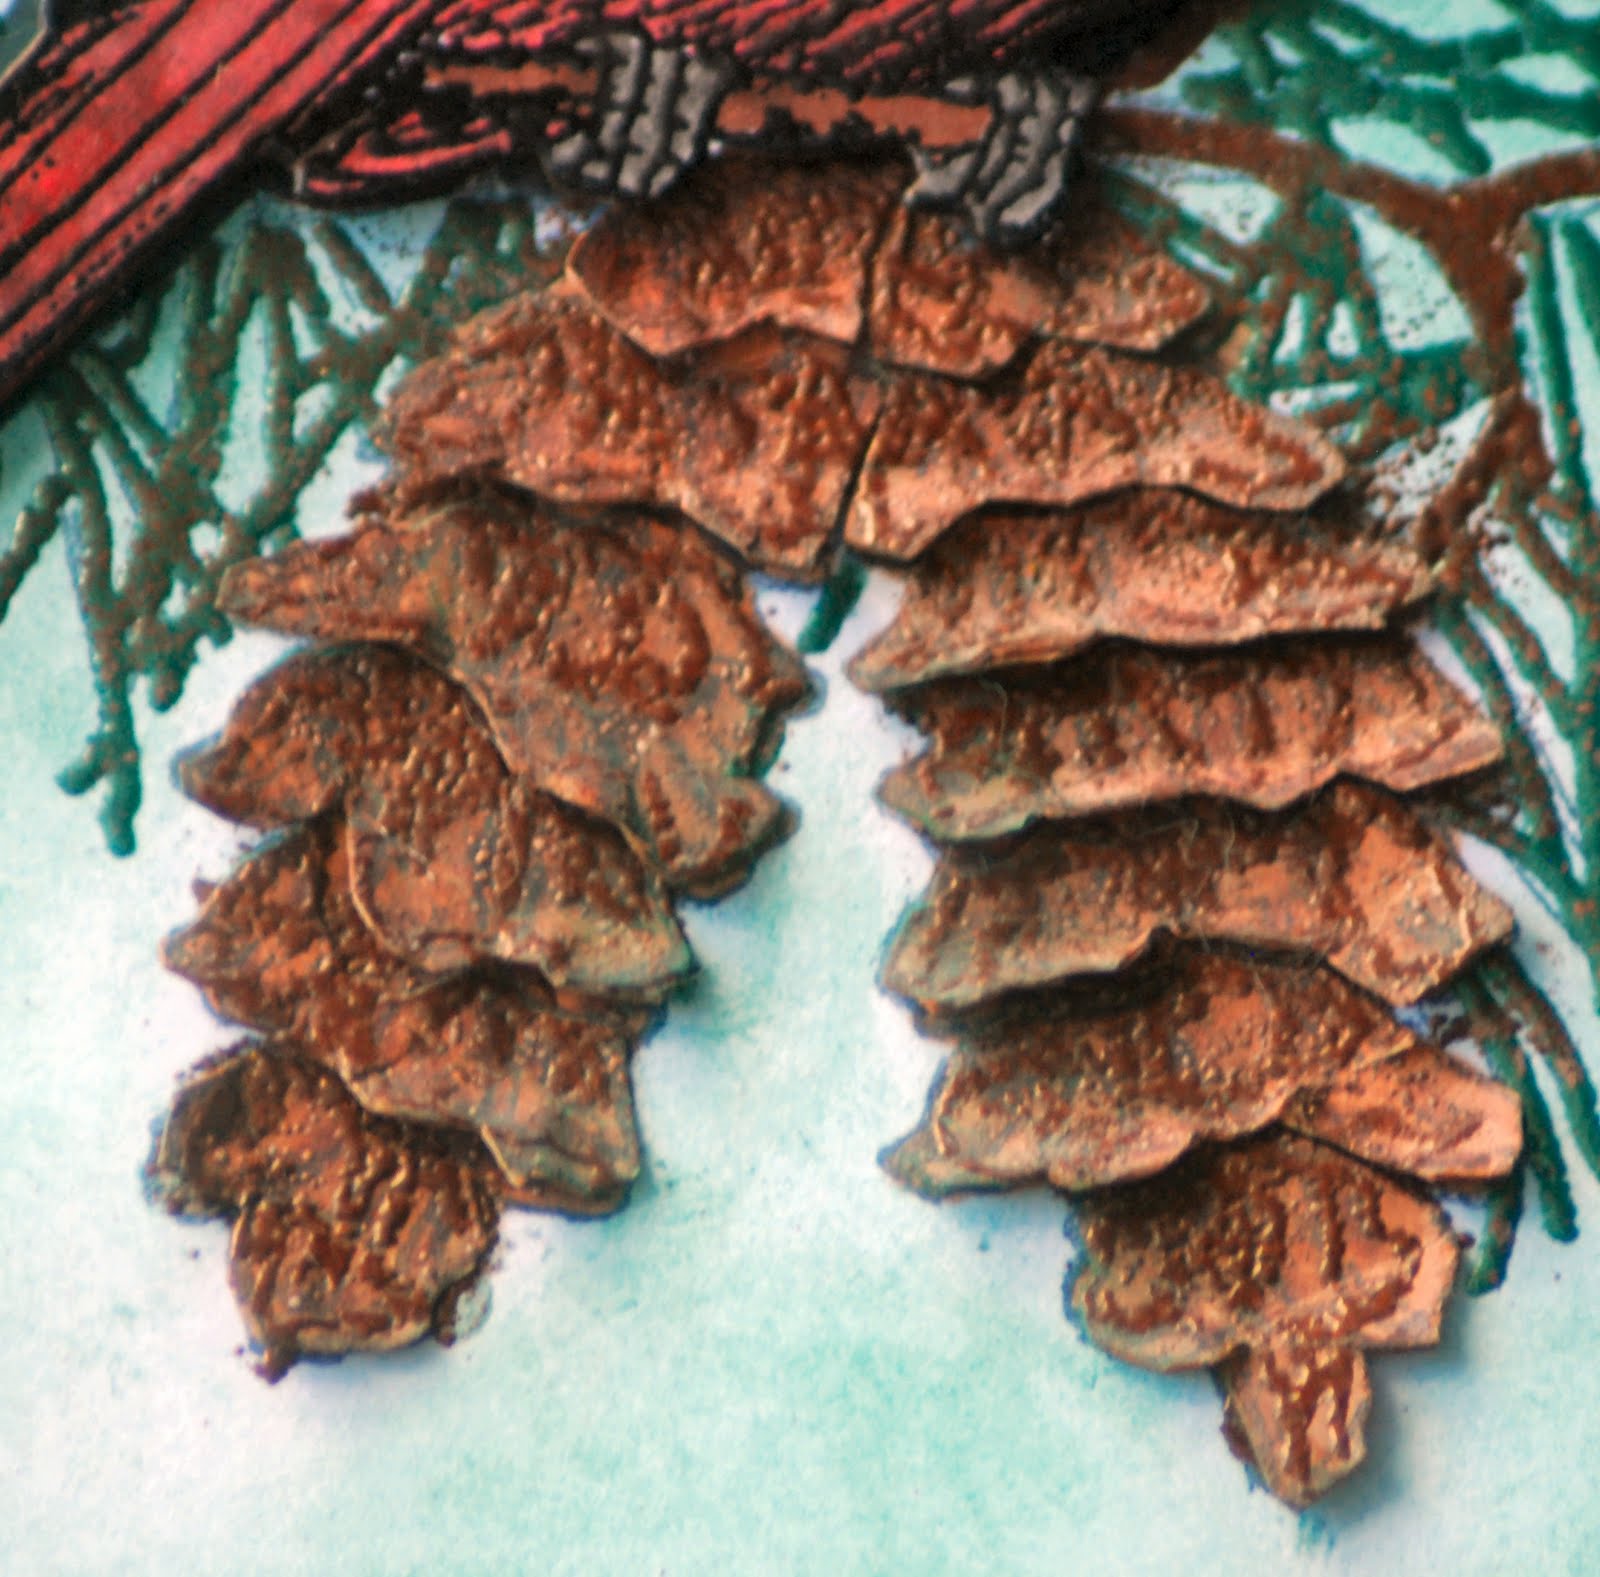
Christmas Cardinal Card

http://www.heartfeltcreations.us/
All Stamps featured are from Heartfelt Creations.
http://www.heartfeltcreations.us/


Let it Snow Card


Mouse Sleigh Card


Christmas Present Card


Birthday Card


Subscribe to:
Posts (Atom)